![]()
DG Terrain Bump and Texture Map Maker - Getting Started Tutorial
![]()
1st - Click on your Start Menu to exectute DGTM:

2nd - Click on the DRC Terrain Button. (Note this tutorial
is for generating a mesh for the Sicilly island, using the digital
elevation map included with the evaluation distribution, but this
program can work with several other kinds of terrains, see this link for downloading this
other terrain maps and this link
for help and for terrain tools.
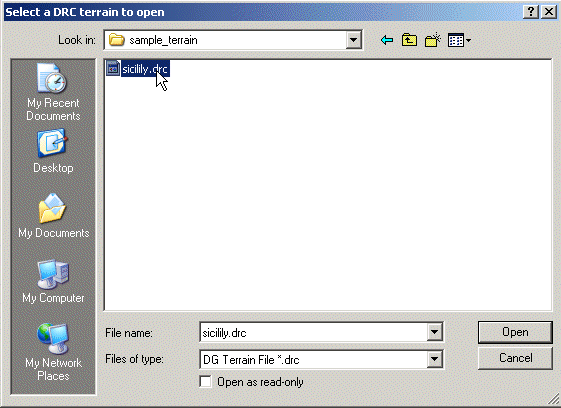
3rd - Browse for the input terrain sicily.drc located on the sample_terrain folder of the installation directory {default location at: C:\Program Files\DG Advanced\DG Terrain Tex and Bump Maker}
4th - Click on the "Save Bump Map" and then on the "Save Terrain Texture" Buttons
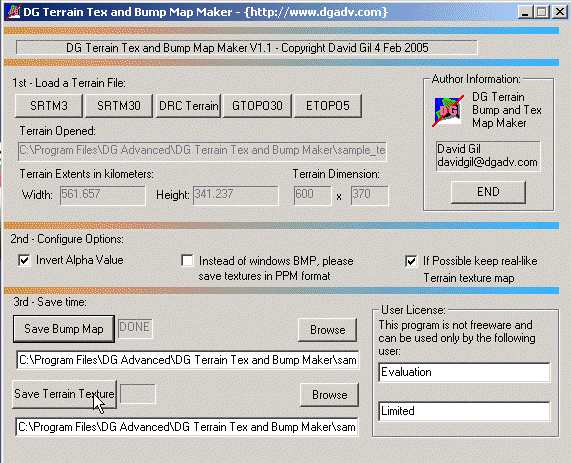
At this point your bump and textures maps are created on the same folder of the terrain file {C:\Program Files\DG Advanced\DG Terrain Tex and Bump Maker\sample_maps}
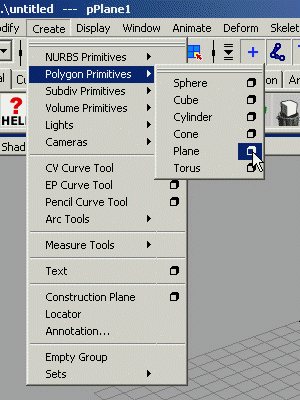
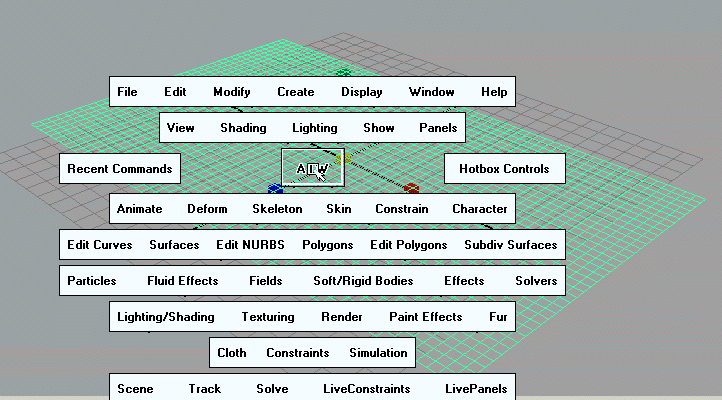
5th - Open Maya
6th - On the Menu, click 'Create', then 'Polygon Primitives', then the square next to 'Plane'.
7th - Fill the dialog as shown on the figure:
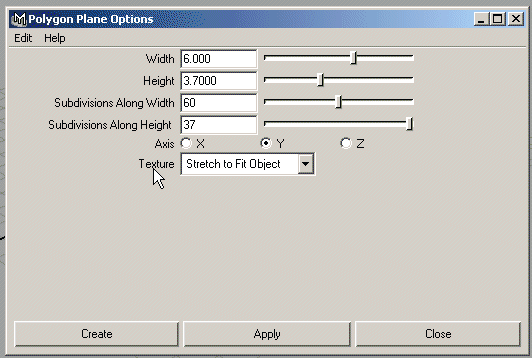
This numbers are given from the terrain dimensions given by the program in step 4
8th - Select the object then hold the space bar and on the shown menu, click 'Edit Polygons' then on the square next to 'Sculpt Polygons Tool'
9th - This will open a dialog on right, click the map tab, then Browse, goto to C:\Program Files\DG Advanced\DG Terrain Tex and Bump Maker\sample_maps and select 'sicilia_bump.bmp'
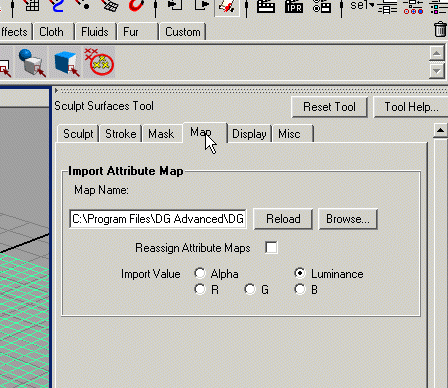
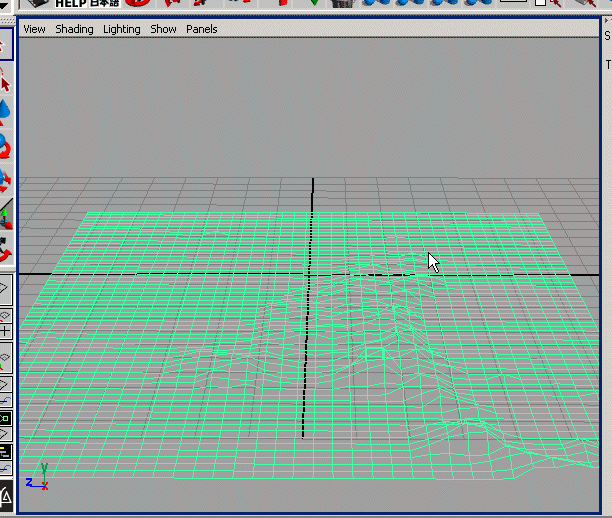
This will sculpt the mesh according with the supplied map
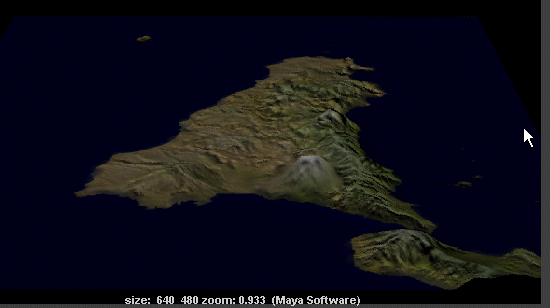
Ok, the terrain is craeted, to add more terrain enhanced detail, you can include the 'sicilia_bump.bmp' also as bump map, and 'sicilia_tex.bmp' as texture map, after rendered, the result will look like this: